

OAuth 2.0
Our OAuth2 integration connects your customers via your platform to ClickFunnels to provide additional services and features. Everyday use cases include extended e-commerce, analytics, and affiliate capabilities.
Setup
You first need to create a platform application in ClickFunnels as described in the Getting Started guide.
Then you need to enable the Public Applications feature for the first platform application by clicking "Enable public application".
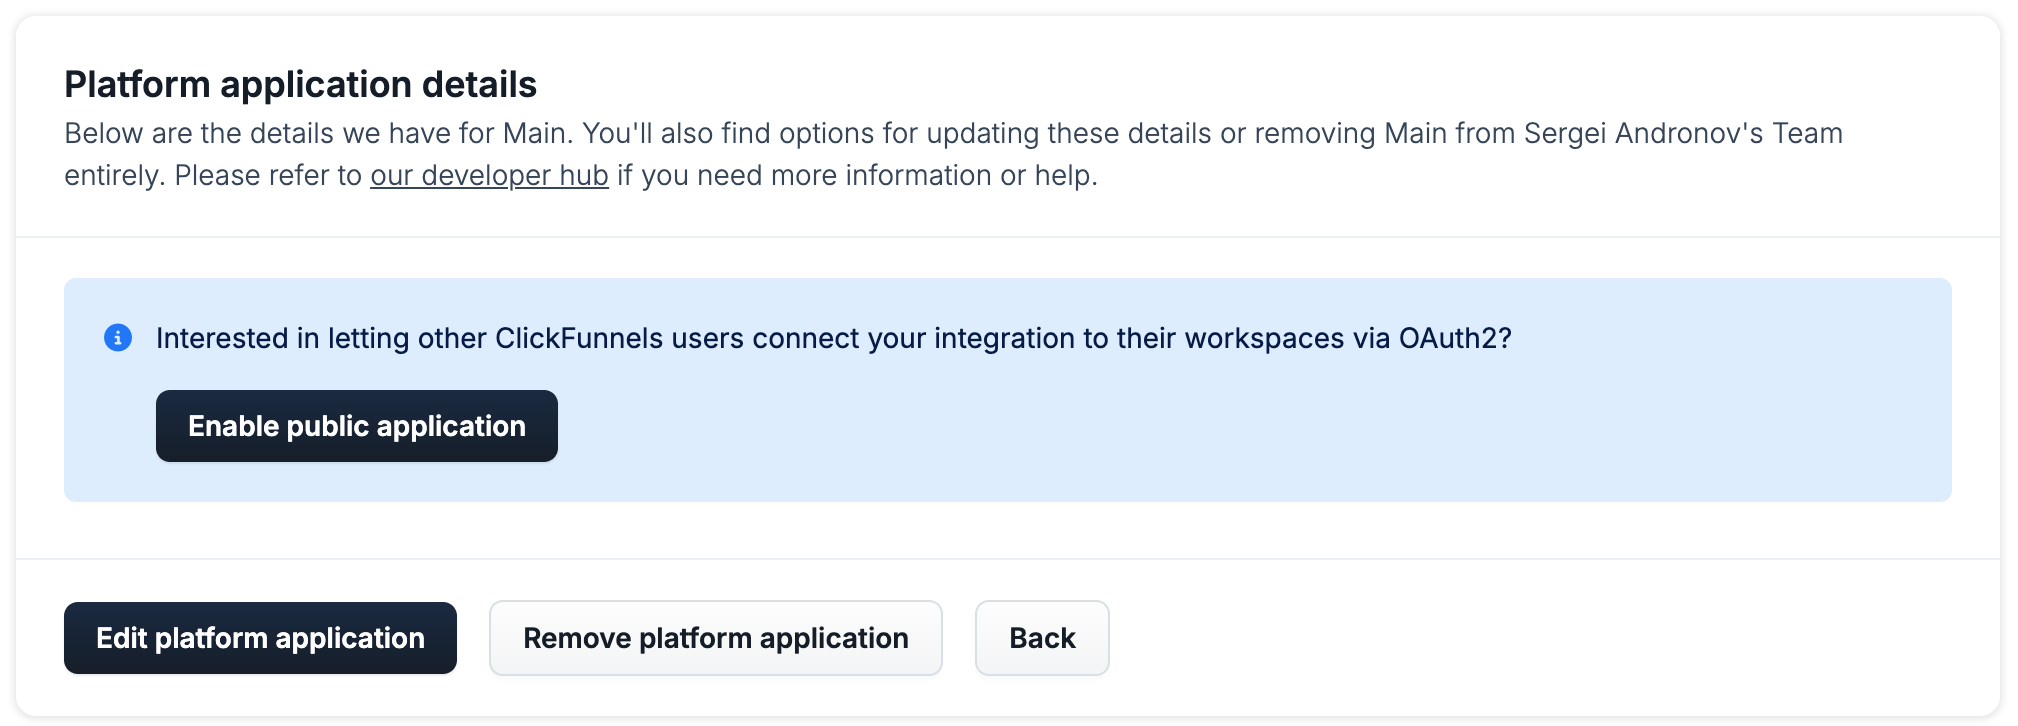
You could have a platform application where you let ClickFunnels users connect their accounts via OAuth to your platform or app so you can provide your services to them and operate on their data. For example, there is a login button in Zapier that allows you to connect your ClickFunnels account to Zapier. After authorizing Zapier, their platform application can make changes in your account, like creating contacts or knowing when a new form was submitted.
It is recommended that a platform application serves one purpose. For example, you could different platform applications serving different apps that your users connect to.
Getting your secrets
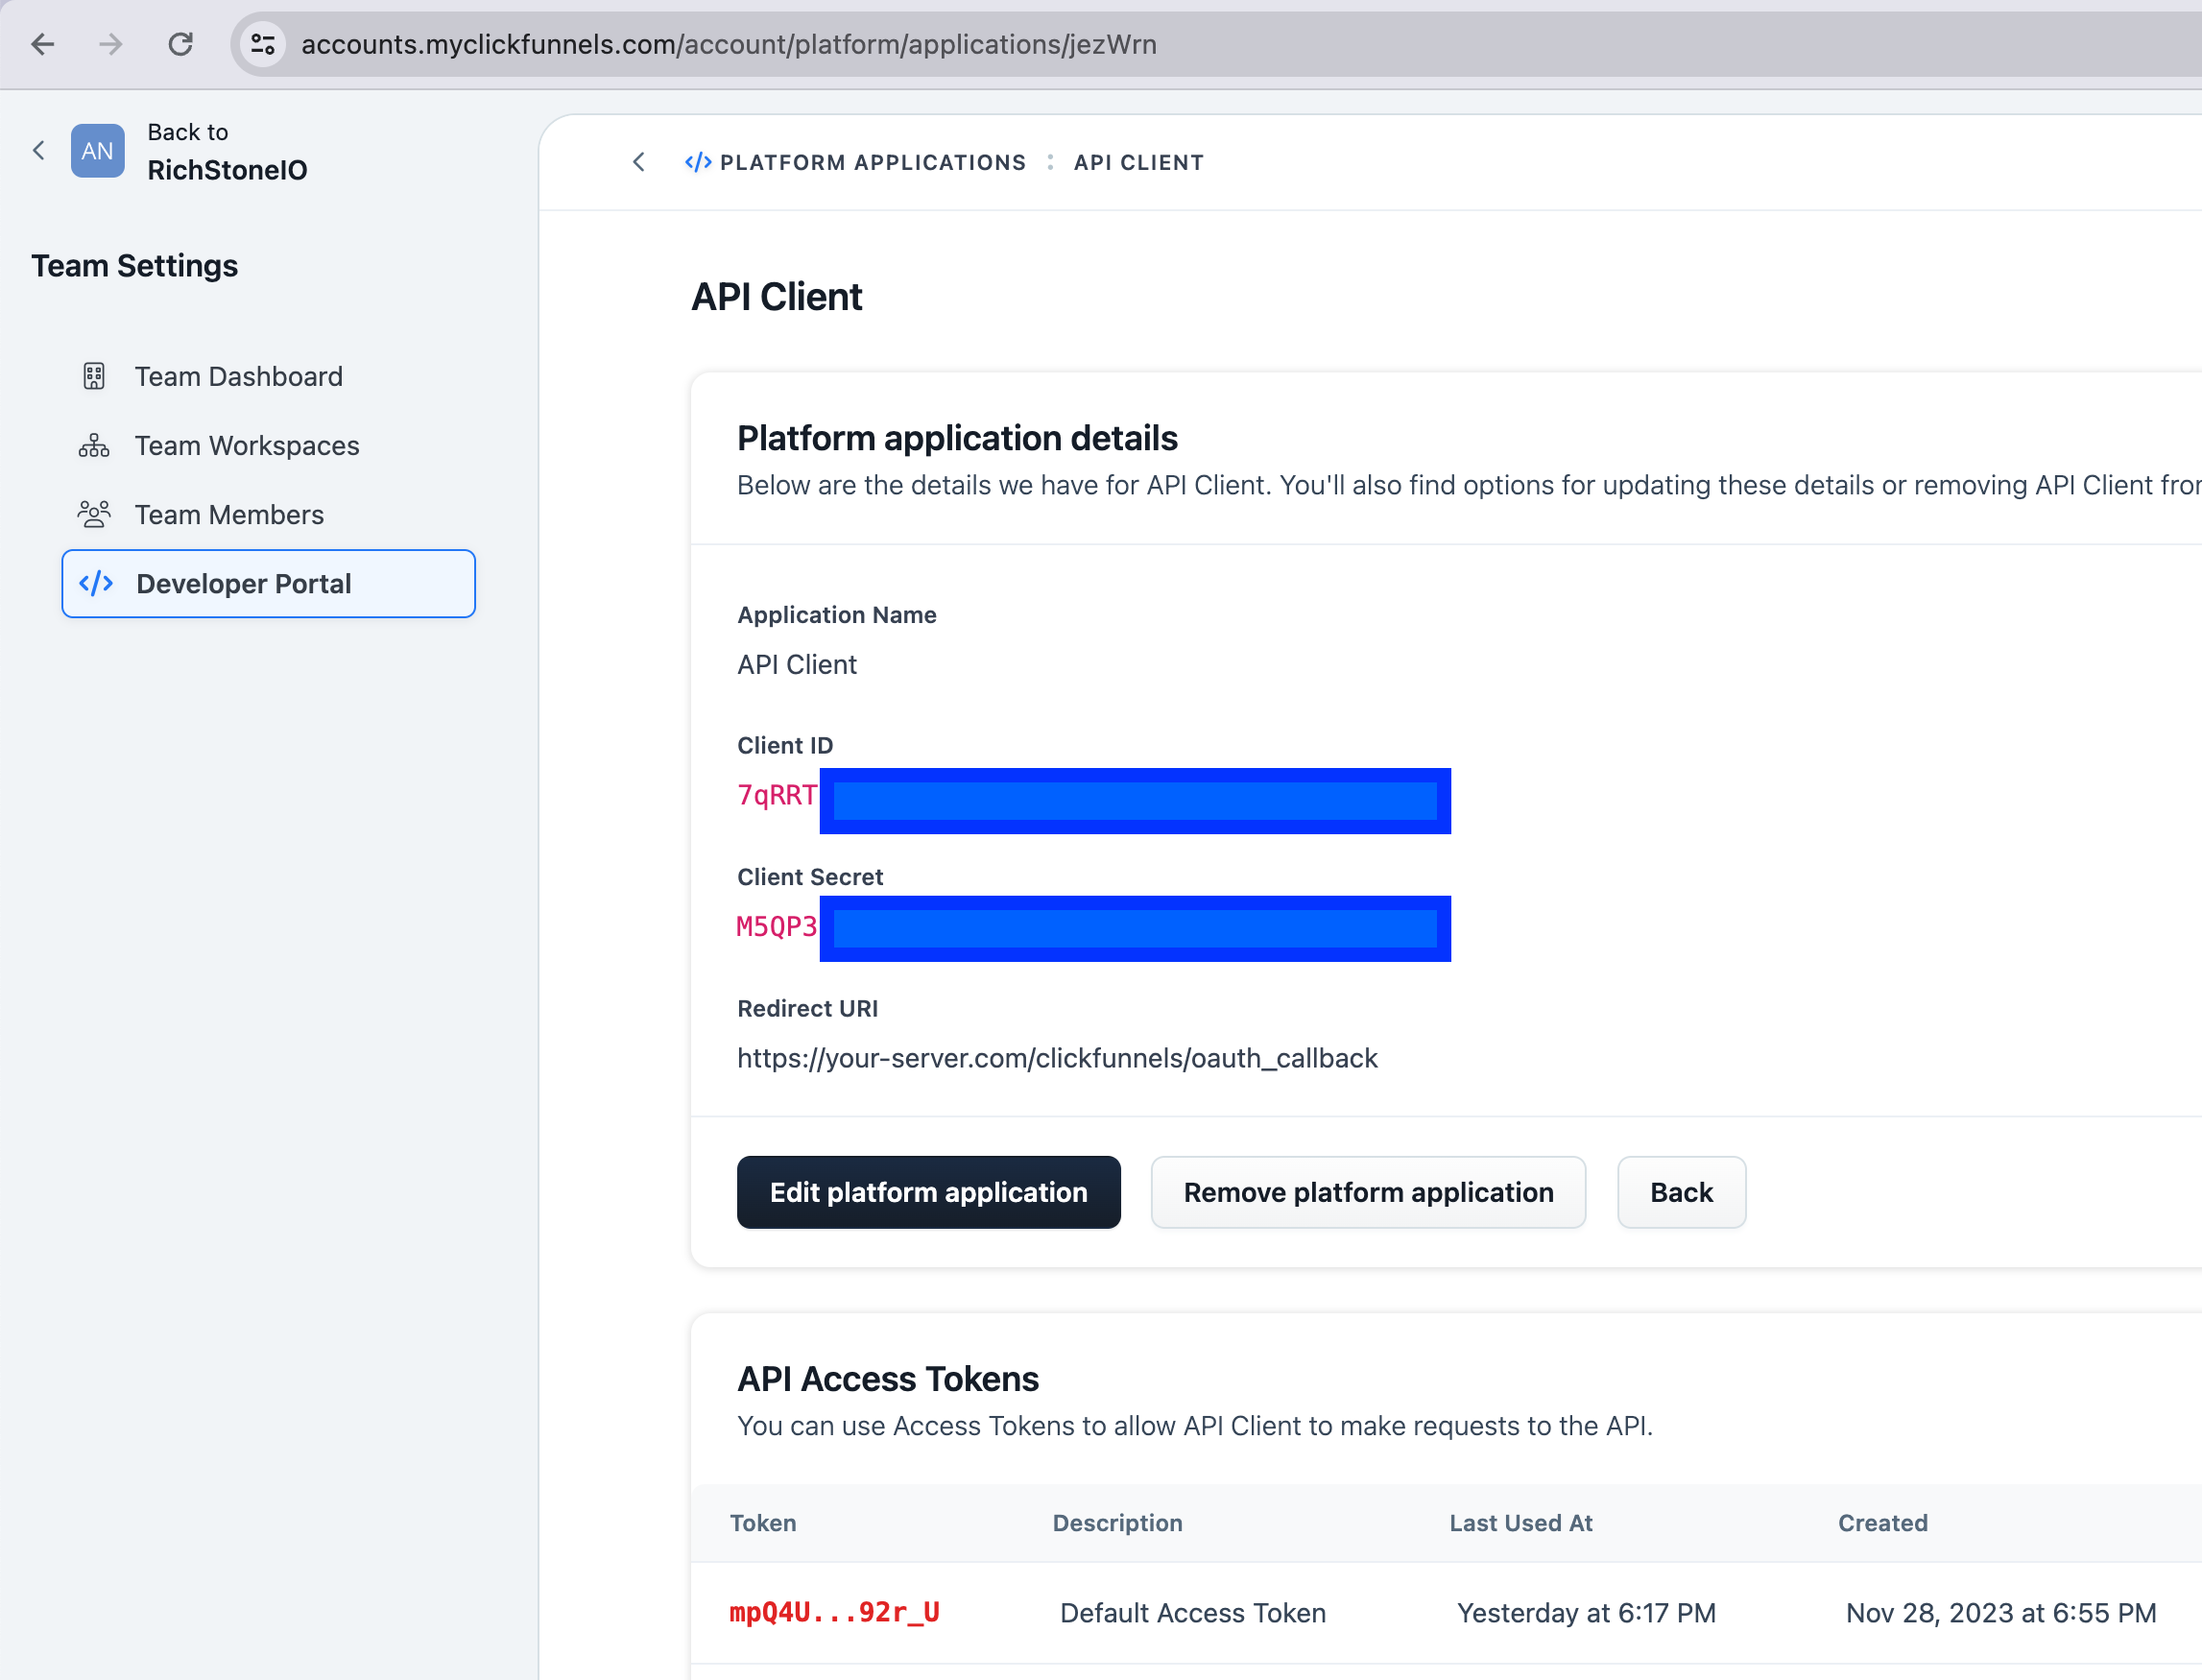
Then you will be able to obtain a client_id and client_secret for your OAuth client within the Platform Applications section of your CF2 developer portal (you can find the developer portal under "Team settings" in the ClickFunnels UI). You can set the Redirect URI there too:
Authorize Step
The ClickFunnels Oauth2 authorization URL is:
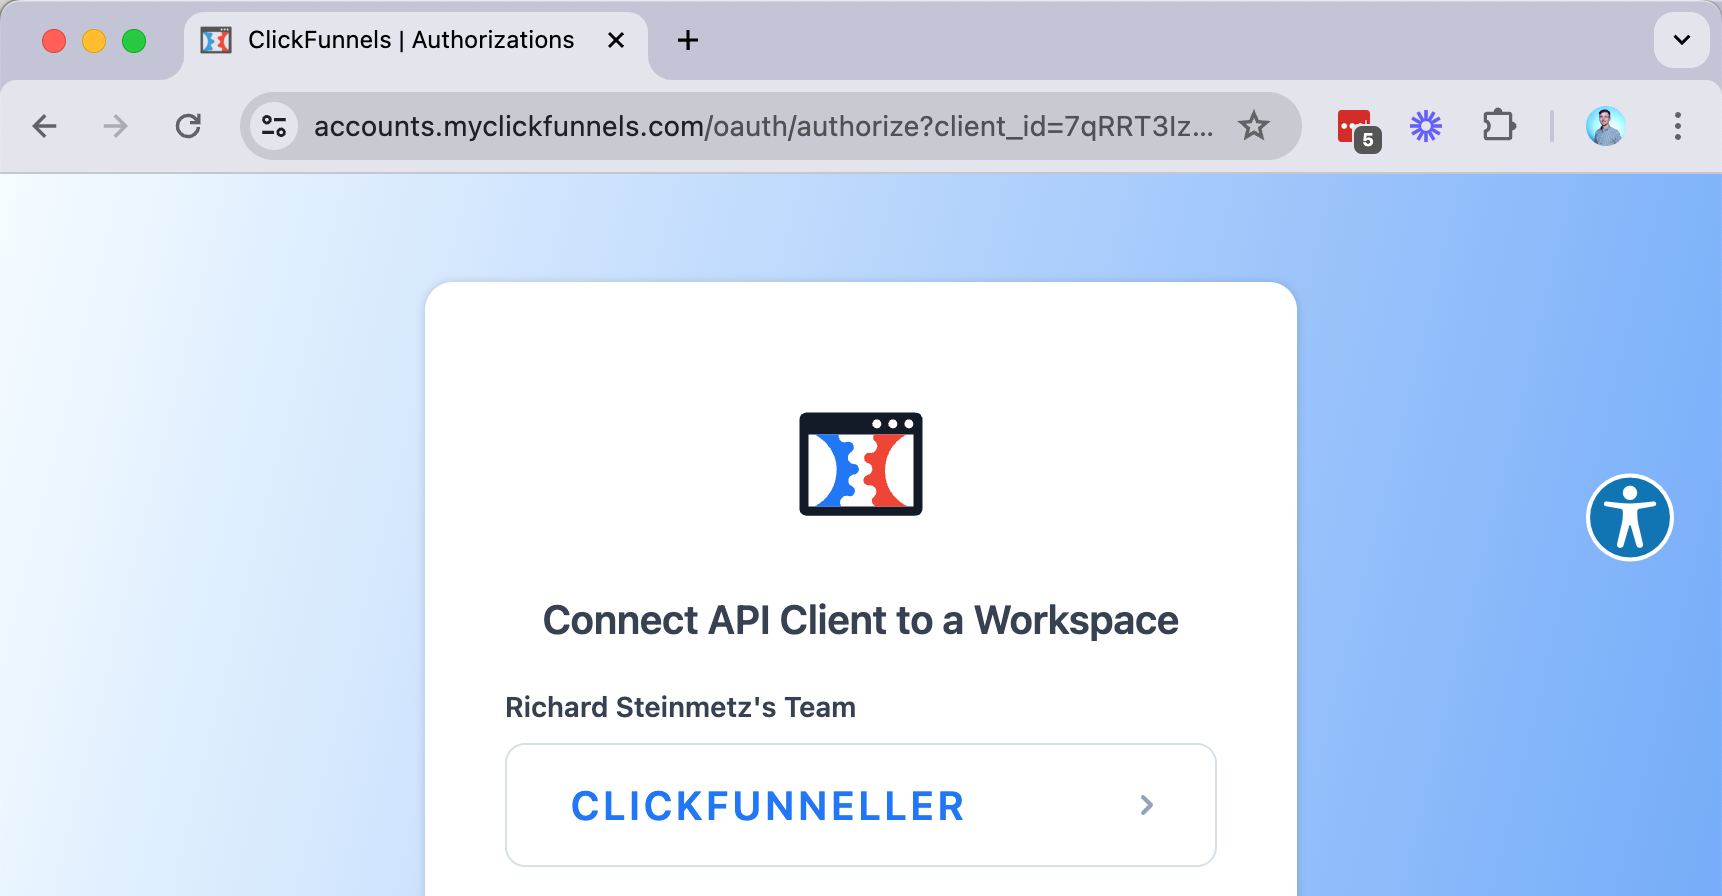
GET https://accounts.myclickfunnels.com/oauth/authorize?new_installation=trueThe https://accounts.myclickfunnels.com/oauth/authorize URL is a link you would expose to your customers. After clicking that link, they will be redirected to a ClickFunnels login page in a browser. The full link you will let your users click will look like this:
https://accounts.myclickfunnels.com/oauth/authorize?client_id=7qRRTSF020jfLFKSJjksdfKJSDF&grant_type=authorization_code&redirect_uri=https://your-server.com/clickfunnels/oauth_callback&response_type=code&new_installation=true
Here's an example of what customers will see after they click the link:
At this stage, please ensure all the parameters are set up correctly in your URL.
- The
client_idmust be present and match your platform application's Client ID. - The
grant_typemust equalauthorization_code. - The
redirect_urimust match the Redirect URI configured in the developer portal as shown in the Setup step above. Any slight deviation, like a trailing slash or a newline inside of ClickFunnels or the URL you build, will fail the authorization request. In some cases, you might want to use a URI-encoding tool to encode theredirect_uri, so the final URL will look like...authorize&redirect_uri=https%3A%2F%2Fyour-server.com%2Fclickfunnels%2Foauth_callback&.... - The
new_installationparam must be set totrue. - You should not need to specify any scopes.
Once your customer chooses the workspace they want to authorize, they will see an additional authorization screen:
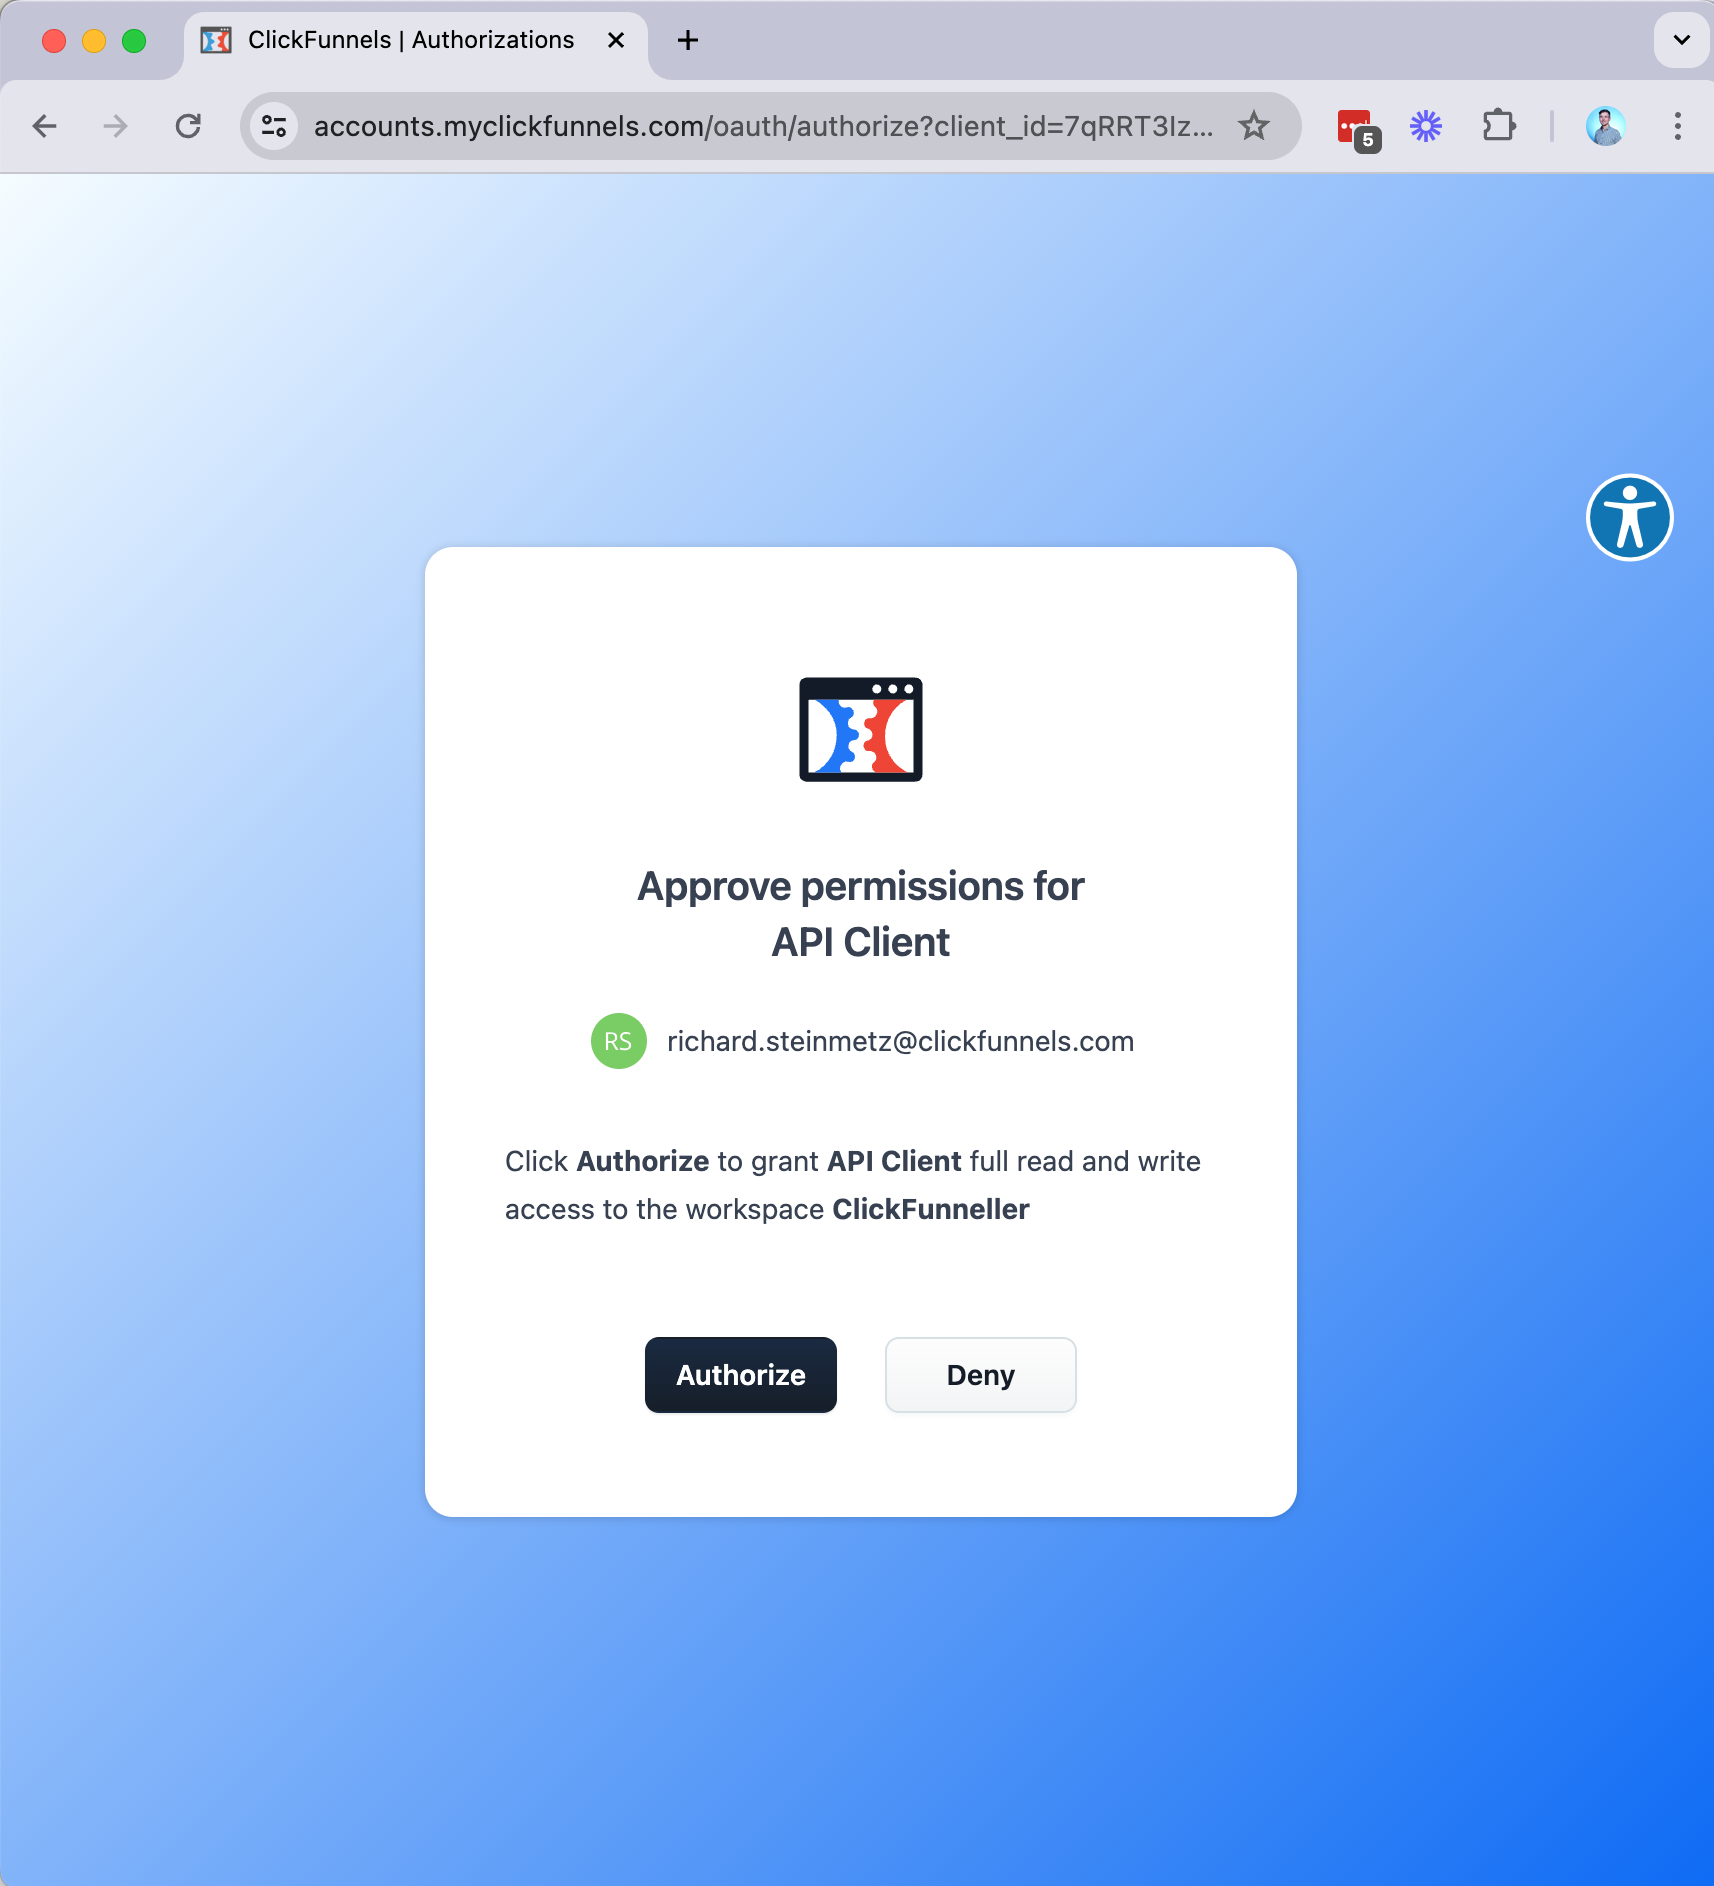
After clicking "Authorize", the customer will trigger a redirect to the specified redirect_uri pointing to your server, like https://your-server.com/clickfunnels/oauth_callback. Essentially, the redirect will make a GET request to your server's endpoint that handles OAuth for ClickFunnels, with an authentication security code generated in the previous step. The redirect in the browser will look like this: https://your-server.com/clickfunnels/oauth_callback?code=YYPnKJEvoV60yKq7I1b0gApWOnlYczPLmBpu_8oQlwY.
At this point, the /clickfunnels/oauth_callback endpoint needs to be implemented on your server. The implementation should handle the code=YYPnKJEvoV60yKq7I1b0gApWOnlYczPLmBpu_8oQlwY received with the redirect. The handling of the code is the last step in the OAuth protocol and is described below in the Token Step.
Token Step
After obtaining the authorization code, you will need to perform a last POST request to the /oauth/token endpoint to receive the actual access_token:
curl -v -X POST "https://accounts.myclickfunnels.com/oauth/token" \
  -H "Content-Type: application/json" \
  -H 'User-Agent: YourAppYourOrg'
-d '{
  "code": "YYPnKJEvoV60yKq7I1b0gApWOnlYczPLmBpu_8oQlwY", # The code obtained from the previous authorize step.
  "client_id": "7qRRTSF020jfLFKSJjksdfKJSDF", # The Client ID from your developer portal page in ClickFunnels.
  "client_secret": "M5QP32092SDLKFJkdsf0239jdDF", # The Client Secret from your developer portal page in ClickFunnels.
  "grant_type": "authorization_code", # Required parameter.
  "redirect_uri": "https://your-server.com/clickfunnels/oauth_callback" # Required parameter.
}'
After successful authentication, the response data will contain the data of the workspace that authorized your application to act on their behalf:
{
 "access_token": "XXXXXYYYYYYYZZZZZZZ",
 "token_type": "Bearer",
 "expires_in": 7200,
 "scope": "admin read",
 "created_at": 1707498467,
 "team_id": 1234,
 "team_name": "John Doe's Team",
 "workspace_id": 4567,
 "workspace_name": "Clickfunneller",
 "workspace_url": "https://clickfunneller.myclickfunnels.com"
}
You should record these details and use them to make subsequent API requests.
- You will use the
access_tokenas the Bearer Token in subsequent API requests to act on behalf of your customer as described in the Getting Started guide. - You should prefix all your workspace-specific API requests with the value of
workspace_url. This is important to ensure compatibility of your API calls and security updates. - You can use the
workspace_idandteam_idfor all endpoints that require those.
A few key points to keep in mind:
- The default access scope gives you full access to the authorized workspace's data.
- Tokens do not expire, so there is no refresh token system in place. Please ignore the
expires_infield; it has no effect on the tokens.
You can now let your customers use the integration by redirecting them to a page on your site that shows the newly established connection.
Updated 8 months ago